
Stucco Resurfacing & Recoating in Washington, UT: Bonding a New Coat to an Old Wall | Washington Elite Stucco
Washington Elite Stucco provides stucco resurfacing & recoating for homeowners in Washington, UT, backed by 15 years in the trade. A wall that is sound but tired needs a different answer than a wall that is failing, because a new finish coat can only perform when the surface beneath it can hold the coat.
Stucco resurfacing can refinish a weathered wall, place new stucco over existing stucco, change texture or color across a face, and replace worn sealant at joints. Stucco recoating may include an acrylic finish or a cement plaster finish, depending on the wall and the finish you want.
Before we coat, we establish that the old wall can receive the new coat. Test panels show how the surface accepts the material, and a bonding compound helps the new coat grip the old stucco where the wall needs it. We serve Washington County and the St. George area for resurfacing and recoating work. Call (435) 319-6039 to talk through your wall or request a quote.
Get A Free Estimate
What We Do
What a Stucco Resurfacing & Recoating Job Includes
Stucco resurfacing & recoating is the group of services used when an existing stucco wall needs a new outside surface instead of isolated patching. The old stucco becomes the substrate, the surface under the new coat, and ASTM C932 is the exterior-wall specification a bonding compound has to meet when one is used. From there, the job can stay light, become heavier, change the look of a whole face, or include joint work before the finish reaches it.
Refinishing a Wall That Is Sound but Weathered
Refinishing gives a weathered wall a new outer surface while the existing stucco stays in place. In stucco resurfacing, we place a fresh finish coat over that prepared wall, usually about 1/8 inch thick, so the face can shed weather and carry color again. That coat may be cement plaster, the cement-and-sand material people commonly mean by stucco, or an acrylic finish, a factory-made finish material. An acrylic finish by itself does not make the wall EIFS, a separate foam-backed wall system.
Re-Stuccoing Over Existing Stucco
Re-stuccoing over existing stucco gives the wall a new base and finish instead of a finish coat alone. In this heavier form of stucco recoating, we leave the old wall in place and build over it only where the old stucco is still bonded. The added thickness also has to leave room at trim, sills, and openings, because a new layer that crowds those edges can create a poor joint even when the field of the wall can take the coat.
Changing Texture and Color Across a Whole Elevation
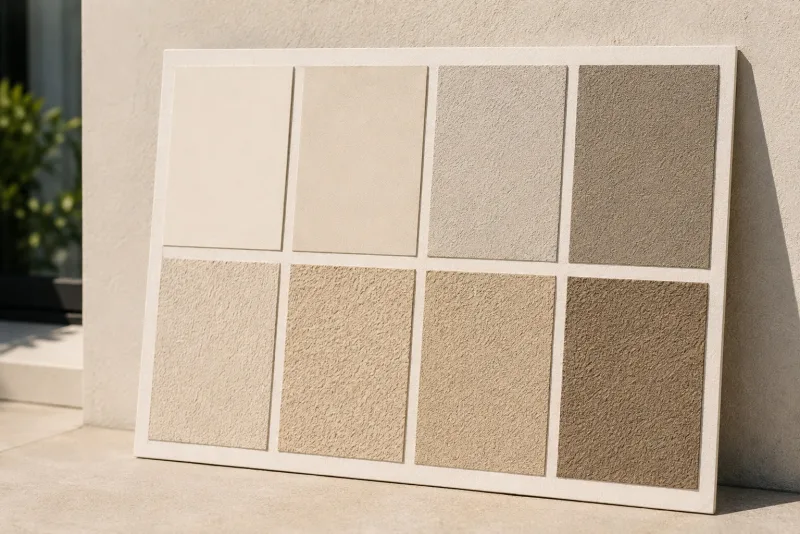
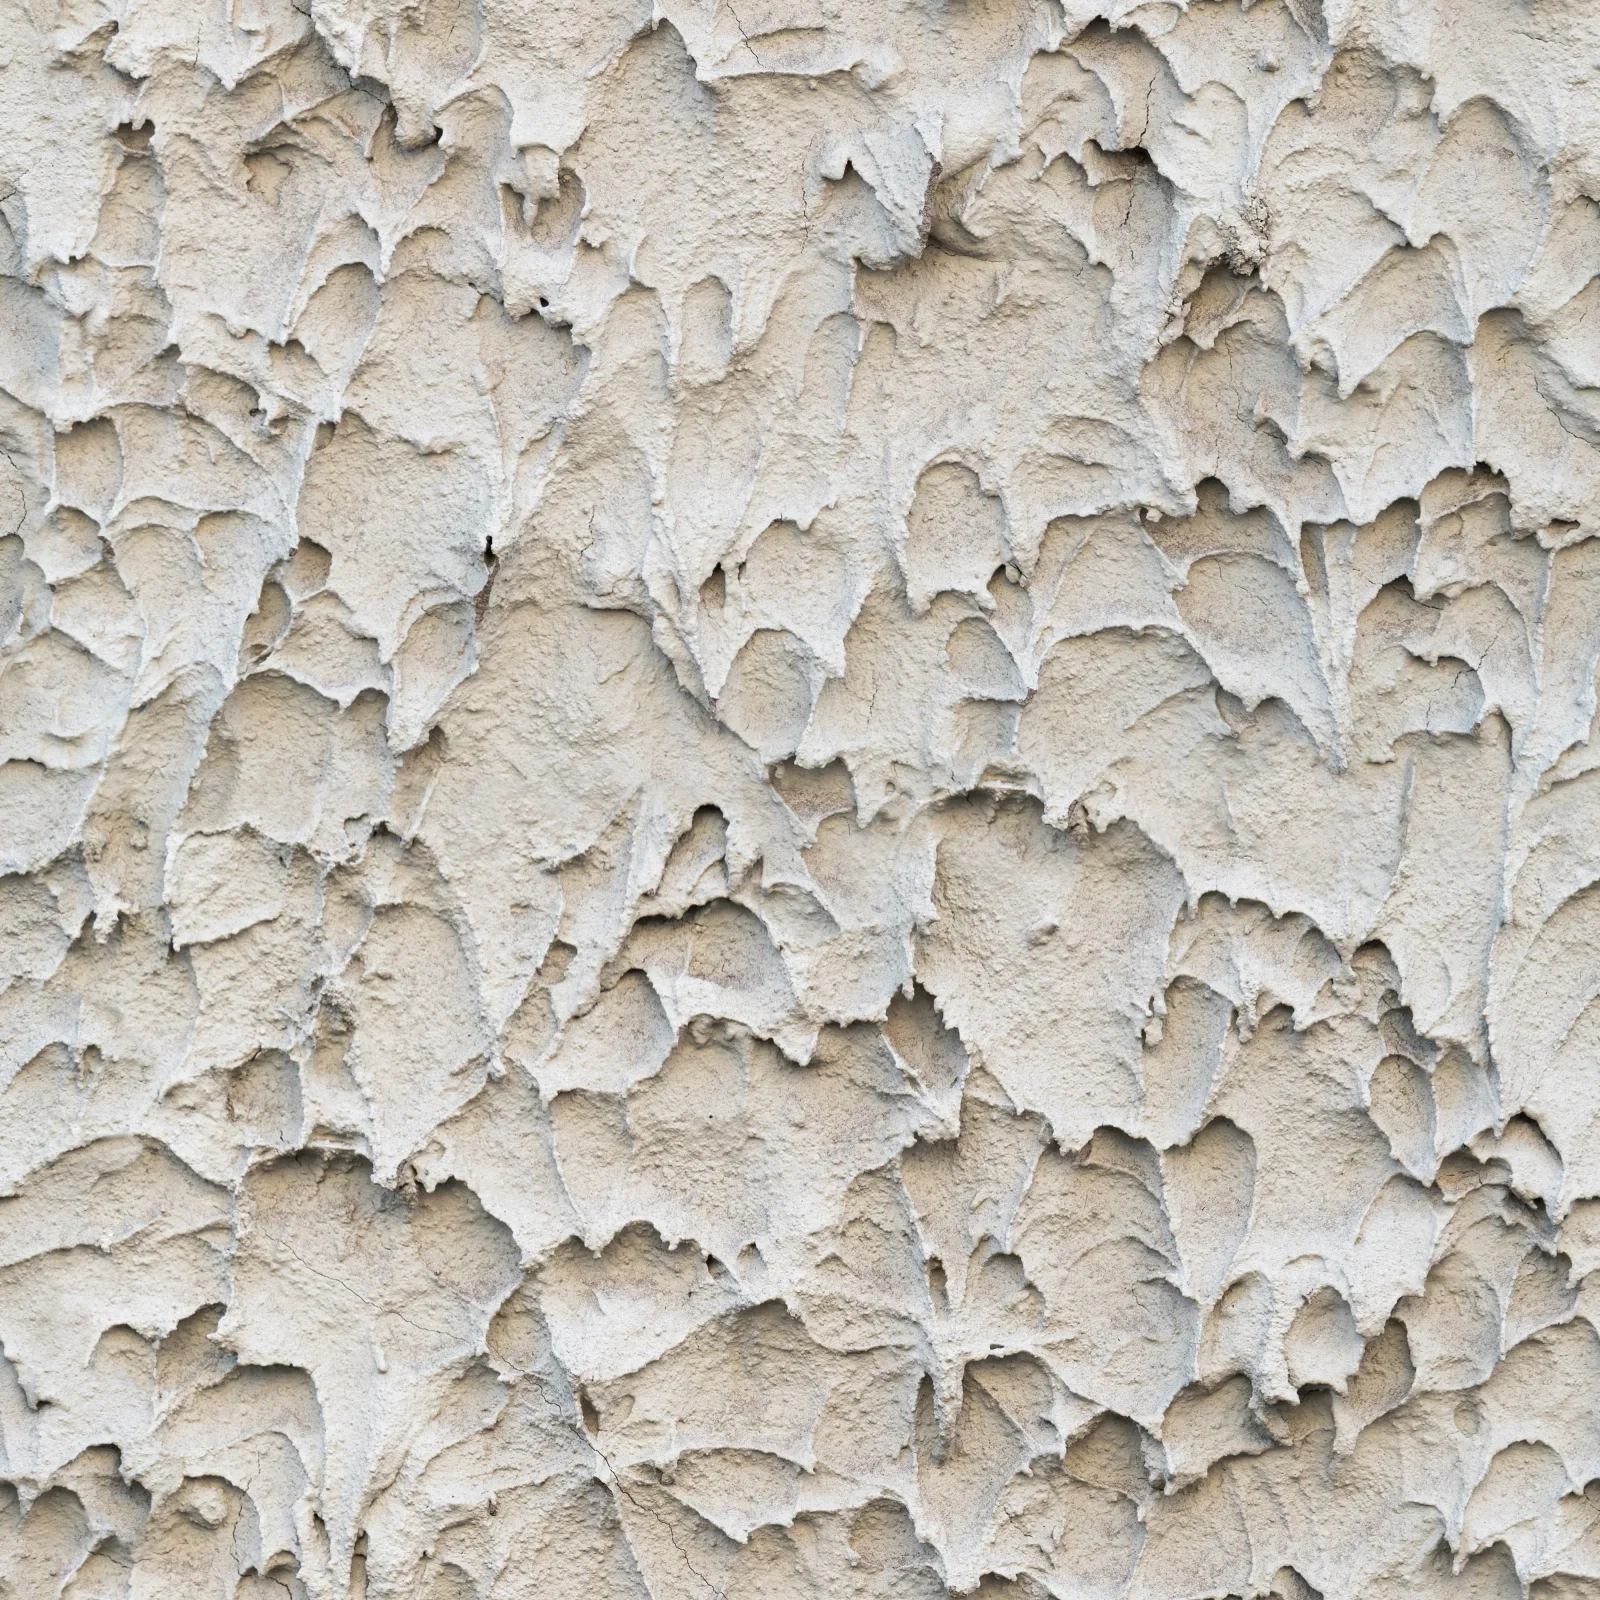
We change texture and color by coating a full elevation from corner to corner. Since the whole face receives a new finish, you are not asking a fresh patch to disappear into a weathered wall. You pick the texture at the estimate from sand, float, dash, or a skip trowel finish. Color can be integral color mixed through the finish or a fog coat applied over it. UV fade is the reason we do not attempt a color match into the old face during this work.
Caulk and Sealant Replacement in the Recoat Scope
Sealant belongs inside the recoat scope because joints and openings are part of the surface the new finish meets. Elastomeric sealant, the flexible material used at moving gaps, usually lasts about 5 to 10 years. When old sealant has failed, coating over it buries a weak joint. We cut out and rebuild joints before the coat reaches them, including the usual places around windows, doors, hose bibs, and light boxes. Silicone has to come out because paint and finish will not bond to it.
When a Recoat Beats a Re-Stucco
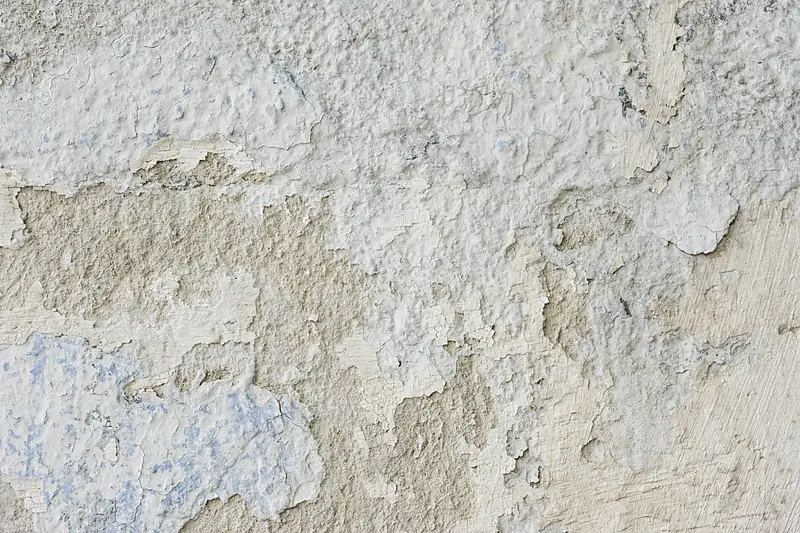
The recoat decision comes from how much of your existing stucco is still attached, not from how the wall looks from the street. A sound wall with a worn finish can be a stucco resurfacing candidate. At the walkthrough, we tap the wall and listen for hollow, drummy areas, then each hollow area is measured into the scope. When enough of the wall sounds hollow, replacement is the honest answer because no bonding agent or injected material reliably re-attaches stucco that has let go.
One house can also have different answers on different faces. An elevation, meaning one side of the building from corner to corner, may be solid enough to coat while another face has hollow areas, staining, or failed details that need repair first. That is why we check the wall by area instead of treating the whole exterior as one decision.
What Makes a Wall a Candidate
A candidate wall still holds its finish even if the surface has lost color, leaves powder on your hand, or shows a thin outer texture. Hairline cracking and map cracking are the coatable patterns when the cracking is fine and spread across the face rather than gathered around one active problem. The wall should sound solid when it is tapped, and the sheathing, the boards or panels behind the stucco, should be dry.
The outside details also have to leave the new coat somewhere proper to stop. Flashing, the metal or membrane pieces that direct water away from openings, should be intact. The weep screed, the metal strip at the bottom of the wall that lets water leave the stucco assembly, should be clear rather than buried by grade, paving, or a previous coat.
What Rules a Recoat Out
Delamination, where old stucco separates from what holds it, rules out coating when the hollow or debonded area is large enough to make the wall unreliable. Efflorescence, the white bloom sometimes seen near the base, has to be resolved before coating. An active leak changes the order of the job because the wall must be made dry before any finish is added.
A buried or bridged weep screed is also corrected before coating. If a new coat crosses that detail, water that reaches the wall assembly can lose its exit path. In that case, we clear or correct the base detail before the recoat reaches it.
How Stucco Resurfacing & Recoating Bonds to an Old Wall
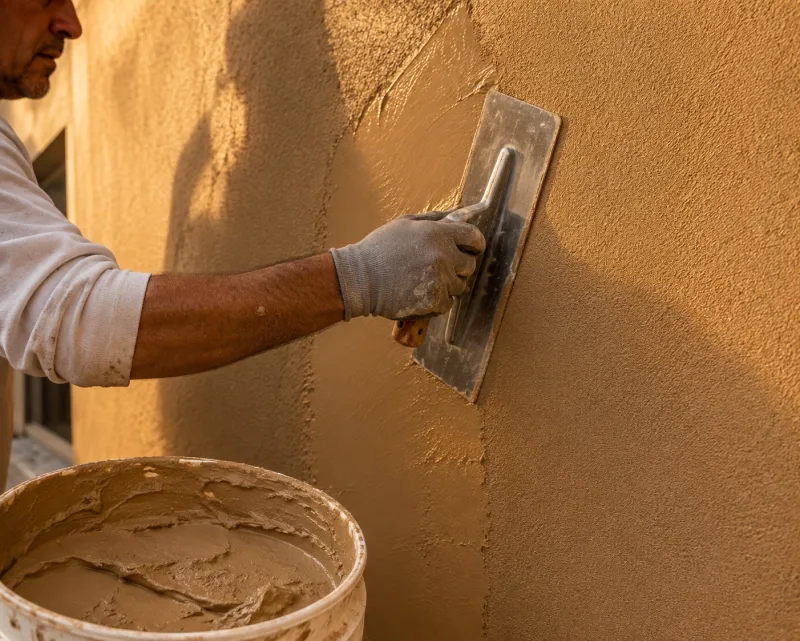
Stucco resurfacing & recoating holds to an old wall when the new coat can attach by suction, surface roughness, or both. ASTM C926 governs how portland cement plaster is applied, including proportions, coat thickness, and curing, and it requires a test application or a bonding compound before plaster goes over an existing wall. If the old finish is too smooth, too sealed, or too dusty, a fresh coat can sit on the surface without a dependable grip.
A doubtful wall is settled by a test application, not by assumption. The small test area shows whether the old surface accepts the coat. When the wall needs help, we use a bonding compound that meets ASTM C932, the exterior-use specification for that material.
Suction, Dust and Why a Dry Wall Drinks the Coat
Suction is the old wall pulling water out of the fresh coat. Some suction helps the coat draw in and tighten to the surface, but too much suction removes water before hydration, the cement reaction that hardens the plaster, can finish. We dampen a dry wall so the coat does not flash-dry in one area and stay wet in another. ASTM C926 calls for dry surfaces to be evenly dampened so suction is uniform, with no standing water left on the face when plaster goes on.
A Mechanical Key Against a Bonding Compound
Surface roughness gives the coat a mechanical key, meaning the new plaster can grip small highs and lows instead of lying against a slick face. Wire brushing, chipping, or abrading can create that grip where the old stucco can take it. We may also throw on a dash-bond coat, a rough splattered layer that is left bumpy instead of smoothed, and keep it damp for at least 24 hours before the next coat.
A bonding compound is the other route when roughening is not practical or does not give the wall enough grip. Which route your wall gets is decided during the walk-through, before the crew arrives to coat, because bond controls whether stucco recoating is a sound option at all.
Preparing an Aged Wall Before Any New Coat
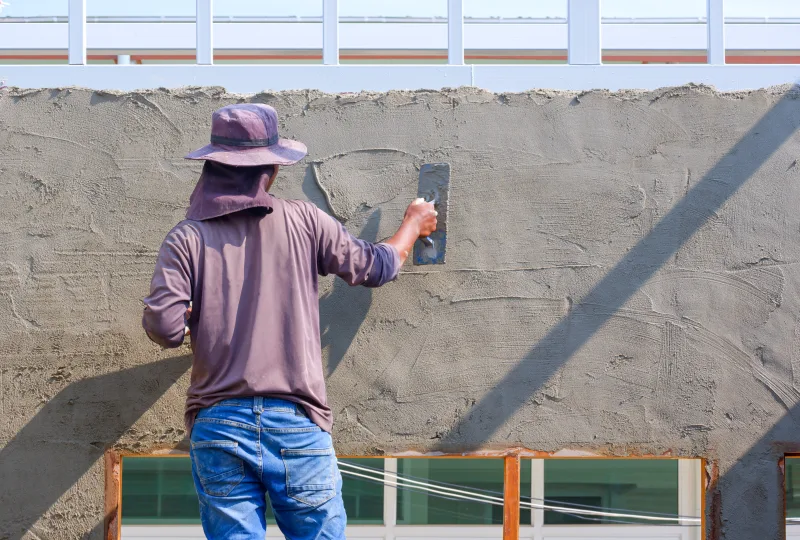
If loose, hollow, dirty, sealed, or powdery material stays on the wall, stucco resurfacing bonds to that weak layer instead of the stucco beneath it. Everything that cannot hold the new coat has to come off before the new coat goes on. Failed material is cut back to sound stucco, meaning stucco that is still firmly bonded to the wall, and control joints, the planned breaks that let wall sections move, stay open instead of being filled by the new coat.
Washing, Scraping and Cutting Out Failed Material
Removal starts with the parts of the old wall that cannot carry a coat. Hollow or drummy areas are cut back to bonded stucco, and those edges are cut square so the patch has a clean place to stop. Pressure washing removes dirt, growth, and mineral deposit from irrigation water, but the wall still has to dry through before anything is applied.
That drying time is part of the preparation, not a delay after it. A damp wall can hold water where the new material needs a firm surface, and a surface that still carries loosened grit can release under the coat. When you see the wall after prep, it should look less finished than it did before because the weak surface has been removed.
Chalk, Coatings and Films That Have to Come Off
Chalking is the powder that comes off an aged finish when the surface breaks down. Loose chalk has to be washed back to a firm face because a coat bonded to powder is only bonded to the powder. Old paint, elastomeric coating, a heavy flexible paint film, and other films can create the same problem by acting as a barrier between the new coat and the stucco beneath.
A plastic acrylic face can also take a cement-based coat badly, so we identify what the wall already carries before the scope is written. If the surface needs wire brushing, scraping, washing, or cutback, those steps happen before the finish plan is treated as ready.
Curing a Fresh Coat in Desert Heat
Cement plaster hardens by hydration, not by drying out. Hydration needs water in the coat long enough to finish. ASTM C926 allows moisture to be held in the mix and calls for moist curing or fog curing after application. For exterior stucco recoating, the work goes on above 40 degrees Fahrenheit.
The Curing Window and How Heat Shortens It
The curing window is the time the fresh coat has to stay damp. Desert heat shortens that window because dry air and wind pull water from the surface faster than a mild day would. Sun alone is not the only concern; single-figure relative humidity and wind can dry the coat before the cement has had enough time with water.
Fog spray generally happens twice a day, in the morning and evening, but hot, dry, and windy weather can raise how often the wall is rewetted. If a coat dries early, the surface can cure weaker and show blotchy color because water left the coat unevenly.
Wind, Timing and Working the Shaded Elevation
Scheduling follows the wall face rather than the clock alone. We work elevations as the sun comes off them so the fresh coat is not started on the hottest face at the hottest part of the day. When you see crews adjust the order of the house, they are controlling evaporation, the loss of water from the fresh coat into the air.
Wind can move a coating day more than temperature because wind strips moisture from the surface and can carry dust against fresh material. Screens and barriers can slow evaporation on an exposed face. During monsoon weather, wind-driven rain can also hit a fresh coat before it has firmed up enough to shed water cleanly.
Why Us
Why Choose Washington Elite Stucco for Resurfacing and Recoating
Washington Elite Stucco settles whether a wall will hold a coat before we sell the coat. That keeps stucco resurfacing tied to the condition of your wall, not to a finish choice made too early. The estimate should leave you with a written scope that says what is being coated, what is being prepared first, and how the coat will be handled after it goes on.
- Credentials: We are a licensed and insured stucco contractor with 15 years of experience, carrying general liability insurance and workers compensation coverage for crews on the property.
- Project history: We have completed 1,000+ projects and provide a free estimate on every job.
- Bond: We use a test application or a specified bonding compound so your written scope identifies how the new coat will attach to the old wall.
- Preparation: We price prep as its own line so removal, washing, cutback, and joint work are visible in the scope.
- Curing: We hold curing to the schedule the weather allows, including the moisture control the fresh coat needs.
- Sealant: We replace failed sealant inside the recoat scope where joints and openings need that work before the finish reaches them.
A free estimate is the way to find out where your wall stands. Book one at (435) 319-6039.
Pricing
Resurfacing Cost per Square Foot
Stucco resurfacing is priced from measured wall area, not from a photograph. Published national guides place full removal and replacement at $8 to $21 per square foot, and stucco painting at roughly $2.45 to $4.75 per square foot. A recoat sits between them: above repainting because we place cementitious material over a prepared wall, and below tear-off because your existing wall stays in place. Those figures are citations, not Washington Elite Stucco's price.
We measure square feet elevation by elevation, then write the scope around the conditions that change labor, access, and material:
- Prep, because the amount of loose coating, chalk, failed stucco, or film removal changes the labor before anything goes on.
- Your wall height changes access because single-story and two-story faces need different staging.
- Sealant, because joints are measured in linear feet and priced with the coat.
- Material, because cement plaster and acrylic finish are not priced alike.
- Detail, because openings, trim, and tight edges can slow a face down more than size alone.
The number for your wall comes from the measured estimate and lands in the written scope before any work. Call (435) 319-6039 to schedule that estimate.
Prep, Coat, Cure
Stucco recoating follows the same sequence on every wall, although the time inside each step changes with the wall and the weather. Each step leaves you with something visible: a written scope, a prepared wall, a finished face, and a final walkthrough.
We Walk the Wall and Write the Scope
Washington Elite Stucco starts with a free estimate at the property. We walk the exterior elevation by elevation, note the areas that can be coated, and identify the work that has to happen first. A written scope follows within 24 to 48 hours of the visit, and the estimate costs nothing and carries no obligation.
Prep Comes First, and It Sets the Schedule
Prep begins before any coat is opened. Failed material comes off, joints are cut out where they need replacement, and the wall is washed and given time to dry. Landscaping, windows, and hardscape are masked and protected so the prepared face is ready for coating without putting nearby surfaces at risk.
The Coat Goes On, Elevation by Elevation
The crew coats one face in a run and works to a wet edge, which means each fresh area meets material that has not dried yet. That keeps texture and color consistent across the face. The texture follows the sample you approved, and the crew follows the shade around the building as conditions change.
We Cure It, Then Walk It With You
After application, the coat is fog sprayed on a schedule set by the weather. Color can keep changing until the wall is fully cured, so the finished face is judged after curing has had time to settle. The final walkthrough covers the coated areas and the joints you can see.
That sequence starts with the free estimate. Book it at (435) 319-6039.
Desert UV, Hard Water and Stucco Longevity
Valley-floor stucco in Washington and St. George is driven hard by ultraviolet exposure, heat, and mineralized water. Higher communities such as Pine Valley see colder nights and a longer cold season, which changes when plaster can go on rather than how the wall is built. Summer highs above 100 degrees Fahrenheit set the valley exposure, and a wall that takes harder sun or sprinkler overspray reaches stucco resurfacing sooner than a shaded, dry face of the same age.
What Ultraviolet Load Does to a Finish
Ultraviolet exposure breaks down the outer finish first. Color fades where the sun sits longest on the wall, and the surface can begin chalking, the powdery residue that comes off in your hand. South and west elevations often age ahead of north-facing walls on the same house because those faces receive longer and harsher sun.
That uneven aging is why one face can look ready before the rest of the exterior does. If you rub a faded wall and powder comes onto your hand, the finish has started giving up at the surface. The wall may still be sound, but the finish is no longer protecting or coloring the face evenly.
Hard Water and Irrigation Overspray on a Stucco Wall
Mineralized water adds a second aging path near the bottom of the wall. Irrigation overspray leaves mineral deposit on the stucco as the water evaporates, and the lower band weathers ahead of the upper wall when sprinklers hit it again and again. That repeated wetting also keeps dirt and minerals around the weep screed area.
Moving a sprinkler head is usually cheaper than recoating the same elevation again sooner than expected. Once a wall is recoated, keeping irrigation off the stucco helps the new finish age with the wall instead of letting the bottom band fail first.
Moisture, Flashing and the Failures a New Coat Would Hide
A recoat is a finish, so it can hide a leak instead of fixing one. Before stucco recoating goes into the written scope, the wall has to be read for moisture where the risk is present. Wood sheathing above about 19 percent moisture is wet enough to investigate before rot becomes more extensive; that number is an investigation threshold, not the point where decay begins.
A moisture meter gives that reading during the walkthrough. If the wall is wet, the job order changes because a fresh coat can close over the problem while water keeps moving behind the new face.
Where Water Actually Gets Into a Stucco Wall
Water usually starts at places where one building part meets another. Roof-to-wall junctions need kick-out flashing, the small piece that directs roof water away from the wall at the end of a roof edge. Window and door heads need head flashing above the opening, and that flashing has to run far enough to move water out rather than behind the stucco.
Water can also get behind the stucco at penetrations, the openings made for vents, conduit, and roof-mounted equipment. If those openings leak, the water-resistive barrier, the layer behind stucco that sheds water away from the wall framing, may already be doing work the outside finish cannot show you.
Why Coating Over a Leak Makes It Worse
A wall that takes in water also needs a drying path. A heavier film, including some elastomeric coating, the flexible paint film described earlier, can reduce the outward drying the wall had before. Vapor permeance is the measure of how readily water vapor passes through a material, and a low-permeance film can trap moisture behind a face that looks new.
When a wall is wet, the next step is repair or remediation before any finish coat. The recoat can wait; the hidden water cannot be left behind the new surface.
How Long a Stucco Recoat Lasts
Hard-coat stucco, the cement plaster wall covering on many homes here, commonly lasts far longer than its finish. The NAHB and Bank of America Study of Life Expectancy of Home Components lists stucco siding at 50 to 100 years, but that figure is for the wall covering, not the finish coat. Stucco recoating is part of that shorter finish cycle. No published guide sets a single interval for it, so the honest answer comes from looking at the wall rather than counting years since the last coat.
How long the new finish stays on your wall starts with preparation. A coat placed over loose chalk, trapped moisture, or failed sealant has a shorter life because the finish is depending on weak material. A harder exposure can make one face of your house need a recoat years before a shaded wall of the same age.
The Maintenance That Protects a New Coat
Maintenance protects the finish between recoats. Keep irrigation overspray off the stucco so minerals do not build up on the lower band. Keep soil, gravel, paving, and stored materials clear of the base of the wall so the weep screed area can stay open. Reseal joints on their own cycle because elastomeric sealant ages before the main wall face does.
A fog coat can extend a finish before a full recoat is needed. A fog coat is a thin cement-based color coat used when the wall is still sound and the main problem is color loss rather than a failing surface.
When the Next Recoat Comes Due
The next recoat usually announces itself at the surface. Color dulls, a hand comes away chalky, and the finish thins at corners and exposed edges. Corner bead, the trim piece that forms an outside corner, may show wear first because edges take more weather and contact than the flat wall.
Joints can open before the broad wall face fails. When that happens, the joint work should not wait for the whole elevation to look tired, because open joints let water reach places the finish coat cannot protect.
Stucco Resurfacing & Recoating Across Washington County
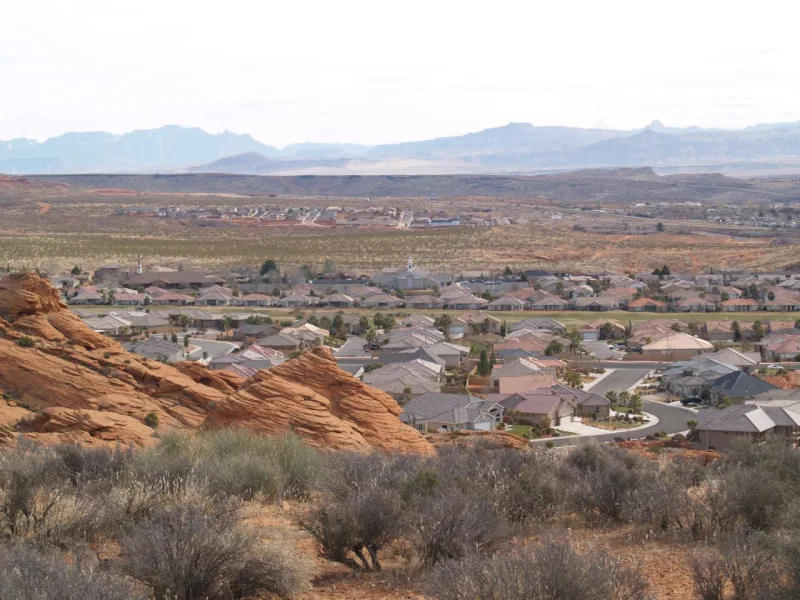
Washington sits at 2,894 feet on the northeastern edge of the Mojave Desert, where low, dry, sun-loaded exposure wears down the outer finish on valley walls. Stucco resurfacing across Washington County still has to follow the wall in front of us, because the higher towns weather differently and run their own interval.
The same service area includes valley homes, hillside properties, and higher-elevation houses where sun, wind, and water reach the wall differently. That is why the estimate starts with the wall condition at your property rather than a single county-wide assumption.
Washington Elite Stucco Recoats Walls Across Southern Utah
Washington Elite Stucco provides stucco resurfacing and recoating in these areas:
- Washington, UT
- St. George, UT
- Santa Clara, UT
- Ivins, UT
- Winchester Hills, UT
- Diamond Valley, UT
- Dammeron Valley, UT
- Veyo, UT
- Central, UT
- Pine Valley, UT
- New Harmony, UT
- Leeds, UT
- Toquerville, UT
- La Verkin, UT
- Hurricane, UT
- Apple Valley, UT
- Virgin, UT
- Rockville, UT
- Springdale, UT
Recoating Questions
Does new stucco stick to old stucco?
Yes, but the useful question is how we prove it on your wall. A small test area, coated and left to set, tells us that before the full face is scheduled. If that test fails, the scope changes before materials and labor are committed to a wall that will not hold them.
Can you re-stucco over existing stucco?
Yes, and the main benefit is that the wall can receive a heavier new surface without exposing the sheathing behind it. That saves disturbance when the old stucco is sound. The tradeoff is added thickness at trim, sills, and openings, so those edges have to be checked before restucco is written into the scope.
How much does stucco resurfacing cost?
It lands between a repaint and a full replacement, and where your wall falls in that span is set mostly by prep. A sound wall that needs washing and little else sits near the bottom; a wall with old coating to strip, chalk to wash back and hollow areas to cut out sits near the top. Wall area sets the size of the job, and prep sets the rate.
Will a new coat hide the cracks in my stucco?
A finish coat can cover fine surface cracking, including the small patterns that stay within the finish. It does not stop a crack that is still moving. A moving crack can telegraph back through the new coat, which is why crack behavior has to be separated from surface wear.
What has to be fixed before you can recoat a wall?
The items that stop a recoat are the ones a new finish would hide: hollow stucco, active leaks, failed sealant, and base details that are buried. If a moisture reading or hollow-sound check changes the scope, you should see that change in writing rather than hear about it after coating has started.
Is resurfacing cheaper than replacing stucco?
Usually, because resurfacing leaves the wall in place and replacement removes it. The lower-cost path still has to be the path the wall can take. If tapping finds widespread delamination, paying for a coat first can add a failed finish to a wall that still has to be replaced.
Can you change the color or texture when you recoat?
Yes. The sample matters because the crew is not only choosing color; they are also choosing how sand, float, dash, or skip trowel texture will catch light on a full wall. Review the sample in outdoor light before the face is coated, since the same color can look different on a different texture.
How often does a stucco wall need recoating?
A finish commonly comes due about every 10 to 15 years, while the stucco wall covering can last much longer with maintenance. The useful owner habit is to inspect by face, not by house age, because the sunny side and the irrigated lower band can age ahead of the rest.
Does a new coat have to cure, and for how long?
Yes. Ask how curing will be handled before the job starts, because the answer changes with heat, wind, and shade. The schedule may include morning and evening fog spray, and the crew may need to adjust the order of the walls so fresh material is not left exposed on the harshest face.
When is the wrong time of year to recoat stucco here?
The wrong day is usually clearer than the wrong season. Exterior stucco work needs temperatures above 40 degrees Fahrenheit, but a windy day can be harder on fresh plaster than a hot still morning. In higher towns, colder nights can narrow the work window even when the valley is ready.
Use the walkthrough to ask which faces can be coated, which details have to be fixed first, and whether your wall needs stucco resurfacing or a different scope.
Find Out If Your Wall Is a Candidate
Washington Elite Stucco starts with a site visit that settles whether your wall will hold a new coat. The visit leads to a written scope for stucco resurfacing, including the areas to coat and the conditions to address first. No obligation follows the visit.
Call (435) 319-6039 or use the quote form to request a free estimate.